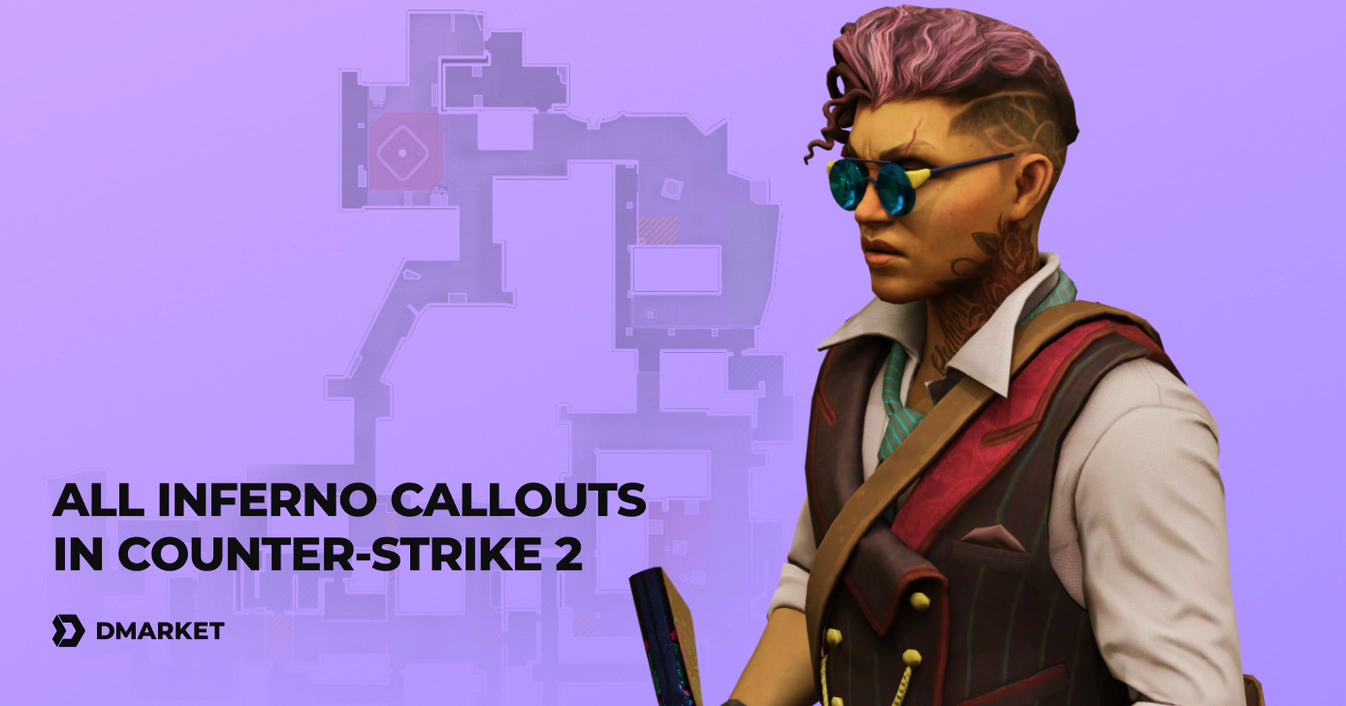
All Inferno Callouts in CS2
It’s such a great map to play Counter-Strike on! Inferno is popular in online matchmaking, and it’s often picked during pro esports tournaments. CS2 Inferno callouts are essential for every player to know.
The map has an interesting and somewhat unusual structure. There is a long way to bombsite B from T Spawn, Banana, and a rather complicated multi-path connection between Mid, bombsite A, CT Spawn, and B. Let’s break down the map into the main areas and explain every callout on them.
CS2 Callouts for Inferno
This is one of the best CS2 maps for good reason. Not only does Inferno look great thanks to the visual improvements of Counter-Strike 2, but it also gives players a plethora of options for defense and offense actions. There are different ways to approach bombsites and convenient possibilities to call for mid-round rotations.
Sure, effectiveness here strongly depends on team communication. The list of Inferno callouts is quite long, but you absolutely need to know all of them. They’ll help you to exchange info with your teammates as quickly and accurately as possible.

T Spawn to B (through Banana)
It’s one of the most iconic streets in Counter-Strike. Terrorists rush through Banana to bombsite B to initiate combat there and plant the bomb, or to confuse their opponents with fake calls and strike on A instead. Counter-Terrorists also want to take Banana under their control and know the real plans of the other team. This specific path on Inferno doesn’t have too many callouts,
so it’s one of the easiest areas to learn on the map.
- T Spawn — it’s a pretty big space with no smaller callouts. The Terrorist players start a CS2 round from here, but no action happens on T Spawn due to this place being a dead end.
- T Ramp — after leaving their spawn area, Terrorists may turn left to a passageway to bombsite B. The starting area is called T Ramp. It is possible to observe Mid from here and vice versa, so AWPers from both teams use this opportunity. T Ramp also leads to bombsite A through Mid. Various rotations happen through this connector.
- Ledge — it’s a spot on T Ramp closer to T Spawn. Terrorists may use it to observe Mid or wait for reckless, overstepping Counter-Terrorists who go too deep via Banana.
- Banana — this long passageway is very important for team strategies on CS2 Inferno. To take this area under their control, T and CT players use a lot of fire grenades. Smoke should cover their actions.
- Logs — usually, Terrorists use this small hidden area to gather for further offense via Banana. With the risk of overstepping and getting punished, Counter-Terrorists may reach Logs to see opponents’ actions. There are actual logs in there, which cause such a callout.
- Car — CS2 players use this callout to indicate their position on Banana right before bombsite B. It is possible to jump on the car to confuse opponents with your positioning — they aim lower, and you have a good chance to win such a duel.
- Sand Bags — theoretically, players can hide behind the sandbags on the top of Banana. Practically, both teams use Molotov/Incendiary to check this spot. Sand Bags are too close to B to stay there for too long. But it’s still an important callout for both attackers and defenders.
Bombsite B
Banana is the main entrance to B for Terrorists. Counter-Terrorists have a direct way to bombsite B from CT Spawn, and they can use the nearby building as an alternative entrance and hiding place. The main fights still happen on B — with many spots to camp on, this is one of the most interesting bombsites in the game.
- Boost — it’s an important position for bombsite defenders. You can stand on this boosted spot to control the entrance from Banana. It is possible to have a view over smoke from here.
- 1st — right after entering B from Banana, the attacking team has to check two hidden spots on the left. This one is closer to Banana. A bombsite defender may camp there.
- 2nd — this is another spot between boxes to hide in. It’s located a bit further than 1st, and the attackers should check it too.
- Quad — thanks to this pile of boxes, defending actions on bombsite B can be pretty successful. Even after planting the bomb, players may decide to remain here and use Quad to protect themselves and hide their actions. Counter-Terrorists should consider this spot too as an alternative to more active defense on 1st and 2nd.
- Fountain — use this callout to indicate the actual fountain in the center of bombsite B. It’s not a very helpful spot, though.
- B Site — the general area to plant the bomb on.
- Dark — hide in this dark corner to defend bombsite B.
- Coffins — while there are no actual coffins on this spot of B now, Valve made graffiti with them in CS2, so this Inferno callout remains in the new game. The spot is located right at the entrance to B from Garden. Defenders may camp there to headshot reckless attackers.
- Garden — it is part of the alternative passageway for Counter-Terrorists from CT Spawn through Construction. Terrorists may also use it after planting on B to wait for attackers.
- Construction/Ruins — this building rarely becomes a combat place, as Counter-Terrorists usually just run through it.
- Sand Bags — these sand bags are located inside Construction. Hiding there is an unusual decision due to the nature of the whole passageway from CT Spawn to B. Therefore, it’s better to clarify what you mean: Construction Sand Bags or Ruins Sand Bags to avoid confusion with the same callout on the entrance from Banana.
- Truck — if Counter-Terrorists rush to bombsite B right after a round starts, they should run through the truck near the entrance to Construction without a pause. But if they rotate to B after the bomb was planted there, CTs should be more careful with Truck. Some risky Terrorists may decide to greet attackers from behind.
- Tree — another hiding spot near Construction. It is pretty far away from B for pre-planting defense actions. But when the bomb is ticking, Tree may be used by both teams: to camp on or as an intermediate gathering spot.
- CT — it’s a direct entrance to bombsite B from CT Spawn. Counter-Terrorists often wait for attackers hiding behind that corner. The spot should be checked by Terrorists or smoked to close the view.
- CT Boost — Counter-Terrorists use this boosted spot to have a view of the entrance from Banana even over smoke.
CT Spawn to A
It is easy for Counter-Terrorists to rush to both bombsites from their spawn. The area is also used for CT rotations. Combat rarely happens here, as it is an uncommon occasion for Terrorists to enter CT Spawn.
- CT Spawn — Counter-Terrorists start CS2 game rounds from here.
- Well — it’s located in the middle of a small square; players pass by it on their way between A and B.
- Terrace — in rare situations, players may decide to use this spot to attack opponents running by.
- Speedway — it is one of two connectors between A and B. The passageway is somewhat shorter but may be riskier, as you expose yourself to potential camping opponents.
- Kitchen — this room is an alternative connector between A and B. Kitchen is located closer to CT Spawn.
- Library — as part of a connector between A and B, this room is located closer to bombsite A. Defenders should control this entrance to A. Attackers should be careful running out from Library.
- Arch — it’s an arched connector between A Long and Speedway.
Bombsite A and around
The bombsite itself is relatively small, but the area around it is huge, with many possible entrances and hiding spots.
- A Site — the platform to plant the bomb on.
- Back Site — it’s one of two corners on A Site to hide in and try to defend the bombsite.
- Close Left — defenders often sit here waiting for opponents. An attacking team should be aware of both these corners: Close Left and Back Site.
- Graveyard — the area is located right opposite A Site, and players can hide there, using a wall as protection.
- Cemetery — a defending team should use this spot, as it gives a good view over A and allows players to rotate quickly.
- Pit — the area is rather open, so hiding here is difficult. It’s a connecting space between Cemetery and Balcony.
- Dosia OL1 — it’s a spot for defenders to hide in. Once, the pro player Dosia threw a grenade there to damage two opponents before the bomb exploded — so they died and didn’t have their weapons in the next round. The spot is named after him.
- Balcony — this is an entrance to bombsite A from CT Apartments. Attackers have a good view from it over A Site and surroundings. But defenders can also shoot anyone on Balcony. In a way, it’s similar to Balcony on Mirage’s A.
- Truck — players can jump on it to reach Balcony. A defending team uses this option to cover the entrance from CT Apartments.
- A Short — one of the passageways around A Site. It’s somewhat shorter and leads to Balcony from Mid.
- Patio/Porch — it’s a very important corner for Counter-Terrorists to camp on and wait for Terrorists rushing from Mid.
- Top Mid — this part of Mid is located closer to bombsite A. When Terrorists enter from here, they can choose one of two possible passageways around A Site: Long or Short.
- A Long — the longer way from Mid to A Site takes players to Library.
- Long Corner — in a way, this corner is the opposite of Patio. Counter-Terrorists may hide here to control Top Mid and Library. Terrorists may use Long Corner as an intermediate spot before rushing to A Site. After planting the bomb, Terrorists may defend A from here.
Mid
It’s a pretty unusual area on Inferno. Mid here is rather complicated for understanding, but it’s part of the map’s greatness, as players have various possibilities with their rotations and attacking actions.
- Bottom Mid — Terrorists enter this part of Mid right after T Ramp. It is used as a path to A from B when there is a call for a mid-round rotation.
- Mid — the relatively big open area in the middle of the map is mainly used by Terrorists for their rotations, but in some situations, Counter-Terrorists may risk entering it to gather info or to take an unusual path to B after planting.
- Bench — this CS2 Inferno callout indicates a corner on Mid. It can be used as protection on the way to Top Mid.
- 2nd Mid — this passageway is parallel to Mid. It’s an alternative way from T Spawn to A. 2nd Mid allows players to take different side paths, and in this regard, it’s somewhat safer.
- T Apartments — this room is located closer to T Spawn. It’s an alternative way to reach Back Alley.
- Bridge — it connects T Apartments and Living Room.
- Living Room — on its own, the room is not very important, but players can access T Balcony from it and have a view over 2nd Mid.
- T Balcony — Terrorists may decide to check how safe 2nd Mid is for them to rush through by taking a look from T Balcony. It’s not a common decision, though, due to how remote the place is from bombsite A.
- Underpass — it connects Mid and 2nd Mid. Players can use it for hidden rotations.
- 2nd Mid Door — it’s the entrance to 2nd Mid from T Apartments. The callout also indicates the start of Back Alley.
- Back Alley — this is an alternative way for players to enter CT Apartments from 2nd Mid.
- Stairs — it leads from CT Apartments from Back Alley / 2nd Mid.
- CT Apartments — the internal side of the building near bombsite A. It is used by both teams quite actively. Terrorists may decide to enter A through CT Apartments. Counter-Terrorists may want to ambush attackers.
- Close Apartments/Hall — as the apartments are pretty big, there is an Inferno callout specifically for the part closest to A.
- Window — it can be used for looking over 2nd Mid. Usually, Counter-Terrorists peek out of it, but the window is too big to feel safe there.
- Boiler — an exit from CT Apartments that leads directly to Top Mid. The place should be controlled by defenders of A (usually Counter-Terrorists).
- 2nd Mid Stairs — it’s another entrance to CT Apartments. The stairs are under Window.
How to Learn CS2 Callouts on Inferno
One of the best approaches to learning CS2 callouts is to break them down into the main areas — like we did in this guide. But you need to distinguish the main map elements and learn them all.
For example, beginners should try and remember Banana, Mid, A Long, A Short, and CT Apartments first. These areas are used the most during Inferno matches. Then, fill them up with the most important details, one after another: like Car on Banana or Balcony close to A.
The more you play on Inferno, the better you’ll understand which CS2 callouts you should learn next. But the big basic elements are essential to start from.
Success in Counter-Strike 2 is achievable through practice! And the better you are at callouts, the more rounds you’ll win with your team. To emphasize your skills in front of teammates (and opponents), buy CS2 skins that are perfect for your style and personality.
Check out other CS2 map callouts on DMarket:
- Anubis Callouts
- Ancient Callouts
- Nuke Callouts
- Vertigo Callouts
- Mirage Callouts
- Dust 2 Callouts
- Cache Callouts
- Overpass Callouts
- Train Callouts
Trade on the go - install the mobile app of DMarket from Google Play or App Store. Never miss great prices and unique skins. The best CS2, Dota 2, Rust and TF2 marketplace is always at hand!


Stay tuned to DMarket Blog for other helpful articles about the game and skins trading and follow DMarket on Facebook and Twitter.